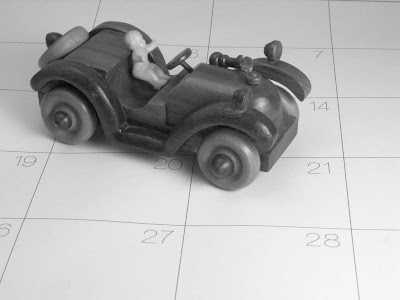
.jpg) from a digital camera. The Canon G9 (and a number of other cameras) includes a black-and-white mode so that black-and-white images can be made in-camera. This B/W picture was made in-camera with the G9 set for ISO 800. (To get to the black-and-white mode, press the Function button, scroll down to the My Colors settings and then scroll across to B/W.) A word of warning: When you set B/W mode on a digital camera, you will get a black-and-white image file – not a color image file. You may not be able to recover the color version of that picture. With the G9, by shooting in combined raw+jpg mode (a menu setting) with My Colors set to B/W, you’ll get a B/W jpg plus a raw image file. You’ll be able to process the raw file in color using any editor that will process Canon G9 raw files. I use Adobe Camera Raw in Photoshop CS3.
from a digital camera. The Canon G9 (and a number of other cameras) includes a black-and-white mode so that black-and-white images can be made in-camera. This B/W picture was made in-camera with the G9 set for ISO 800. (To get to the black-and-white mode, press the Function button, scroll down to the My Colors settings and then scroll across to B/W.) A word of warning: When you set B/W mode on a digital camera, you will get a black-and-white image file – not a color image file. You may not be able to recover the color version of that picture. With the G9, by shooting in combined raw+jpg mode (a menu setting) with My Colors set to B/W, you’ll get a B/W jpg plus a raw image file. You’ll be able to process the raw file in color using any editor that will process Canon G9 raw files. I use Adobe Camera Raw in Photoshop CS3.Even though it is easy to get a black-and-white picture in-camera, I normally don’t set the camera to B/W mode because it is so easy to convert a color image
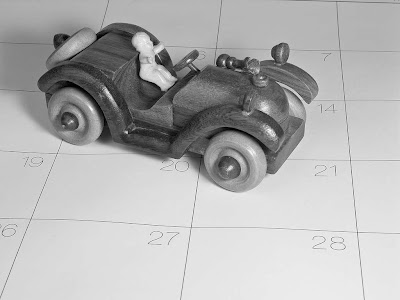 file to grayscale. This conversion can be done several ways: a menu option in many editors (including Photoshop), extreme desaturation, choosing or converting the the color channels, various plug-ins, etc. In the past, my practice has been to shoot in RAW, open in color and then use Fred Miranda’s B/W Pro plug-in. This inexpensive plug-in works well and also lets you add grain or convert to a duotone, tritone, etc. This picture represents my previous workflow. It was shot at ISO 80 to minimize noise, processed in raw as a color image and then converted to B/W in Fred Miranda’s photoshop plugin. Grain was added in the B/W Pro plug-in.
Considering the new features in ACR, I’ve
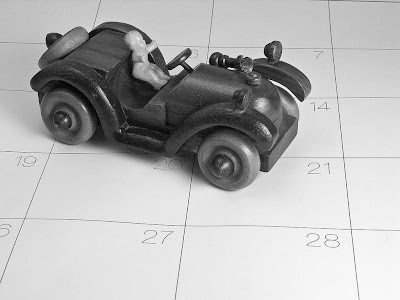 been experimenting with grayscale conversion directly from raw while developing in ACR. An interesting aspect of this conversion is noise reduction. In film based photography, the grain structure of the negative became not only visible but a problem, especially with high ISO film. One solution for film grain was to treat that grain as an asset instead of a liability. With digital photography, there is no grain but amplification creates electronic noise from the pixels. In B/W conversions from digital, it has become fashionable to treat the noise similarly to grain. Therefore, if a digital file is to be converted to B/W, the processing does not include noise reduction. The B/W picture shown here is from the raw file accompanying the in-camera jpg (first picture in this post). That is, it was shot at ISO 800, but processed in raw without noise reduction and converted to B/W in ACR. No grain was added and it was easy to do.
Taking another variation in ACR conversion,
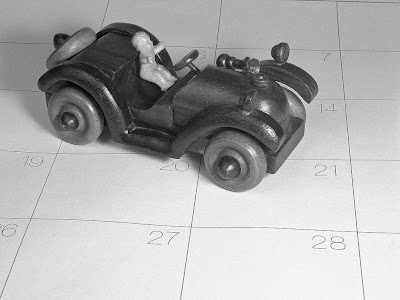 this picture is from the same raw file as the second picture in this post (the Fred Miranda conversion). It was shot at ISO 80 so there was little noise/grain to work with. This time the conversion from raw was done entirely in ACR and grain was added in Photoshop (not a plugin). The ACR conversion settings were identical to those used for the ISO 800 picture above.
Of course, the in-camera B/W jpg can be edited.
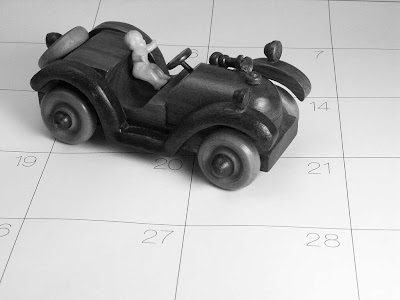.jpg) This picture is the edited version of the first picture in this post. That is, it was shot at ISO 800 with the G9 set for B/W mode. The only adjustments were Levels and Curves in Photoshop CS3.
This picture is the edited version of the first picture in this post. That is, it was shot at ISO 800 with the G9 set for B/W mode. The only adjustments were Levels and Curves in Photoshop CS3.All the pictures above were made from only two shots but the lighting was slightly different for each. Again, the G9 was set to save the raw file as well as a jpg file. Don’t be confused by the slight differences in lighting or the fact that I bumped the tripod slightly.
As a result of conducting these little experiments and organizing my thoughts to write about them, I’m going to change my processing methods. Whereas in the past I shot in raw and used the Fred Miranda plugin to convert the color image to grayscale, in the future I’ll be doing everything in ACR. I’m still going to use a low ISO if possible because the image quality was just better at low ISO. If I want to add grain to simulate grainy film, I’ll do that with a Photoshop filter.
There are only slight differences in these particular images. By clicking on the picture you can see larger versions but the most significant factor was lighting and my personal choices of settings in Photoshop's Levels, Curves and Smart Sharpening.
The point is: Good black-and-white shots can be made from color digital cameras and there are many ways of converting from color to black-and-white. Try a few variations and find a workflow that suits your preferences and tastes.
1 comment:
I used to shhot black and white transparency: SCALA from Agfa. I haven't since some 8 years. Would G9 in B&W or Photoshop reach the same dark/black and silver tone as Scala ?
Post a Comment